
12 Mar
Why I Quit Buying Seeds for My Garden 3 Years Ago
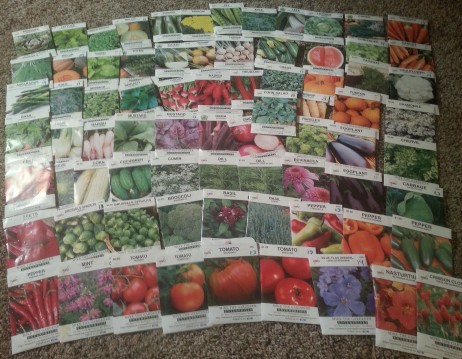
I save seeds for heirloom tomatoes, several herbs, beans and corn. It’s a very easy and convenient way to free yourself from having to spend a lot of money every spring when it’s time to plant the garden.
Almost three years ago, I also signed myself up for a membership for the Seeds of The Month Club. It was the only thing I bought on Black Friday that year. The idea was so fun, old-fashioned and low-tech! You get actual seed packets, mailed to your house, every month! Who doesn’t love getting things in the mail? I still get so excited when (read more on this blog’s new location…)
11 Mar
THIS BLOG HAS MOVED!
Good evening everyone! Surprised to hear from Jimmy? I’ve been on an extended blogging vacation as you might have noticed. As fall came around and the garden shut down I stopped and took a break.
One idea I had been tossing around kept coming back to me. That is moving this blog to a hosted URL so that I have more control over the design and functionality. I am here to announce that this blog is moving:

Same blog, same content, including most of the comments that you have left me over the years. But now I’ll have more control over things and I’ll be a much happier writer! The thing is though, you need to come subscribe, because you’ll no longer receive notifications as a subscriber HERE, to the old location.
Lastly, I will say that during the past few months of absence I have received many very nice comments that I have yet to reply to. I will reply! Your comment is not forgotten, and I thank you.
6 Oct
Garlic planting multi-dibble tool in progress


I saw plans online for this tool, so I started making one.
When it is finished, I will have handles on the other side. It will be pressed into a prepared 2 foot wide garden row, making 10 evenly spaced planting holes. The two “extra” pegs mark the spacing for the next row.
23 Sep
Garlic plot tilled and ready

66 feet long, two rows of 2 feet each. I really hope the garlic grows well this year. I’ll plant it in a couple weeks.
5 Sep
Rainbow on my counter

Red mild jalapenos, Roma and Ester Hess tomatoes, a random cucumber and green mild jalapenos

I realized today that with the yellow throw in there I had quite an assortment of colors on my counter.
31 Aug
Tomato Variety Photo Reviews

2013-08-21 19.00.23
I have been taking photos of the tomato varieties I grew this year. Thanks to my very smart cell phone, the photos get magically transferred to my computer and are named with the time and date they were taken. To me, this is far easier than taking notes with paper and pencil, because THIS I will do and that I usually neglected.
The reviews are done as “pages” instead of “posts.” That way they will always be available from the site menu bar.
I will go back and add in things that I noticed or remembered about each variety, but for now it’s mostly just pictures on each page. If something about one of the photos interests you, then by all means leave a comment or ask a question.
8 Aug
Oh boy, sister

Most mornings before work I walk through the garden. In the three-sisters garden it’s the same thing every day. More male flowers, no new fruit. I don’t have a clue what I did wrong, but from the entire plot right now I seem to have one spaghetti squash and one little acorn squash. The rest is just vines and pretty flowers.
4 Aug
I am done resizing beds


I am finally finished rebuilding most of my garden’s raised bed frames. I now no longer have any 6×8 beds. I found out that I much prefer them to be 4 feet wide.
I love that central column of 6 raised beds!
As you can see, I added 2 more truckloads of wood chips to the paths. I need 1 more load to complete the project.
I canned another gallon and a half of tomatoes. Today it was prepared pizza sauce.
What are you up to?
4 Aug
Best year for green peppers – 2013

Like the tomatoes, 2013 has turned out to be my best year for green peppers too. I picked this dozen from 3 of my 5 little 18 inch high bushes, and I have about 10 more this size still growing.


")


Recent Comments